Deploy WordPress in Microsoft Azure using Marketplace

I’d like to welcome you in the next post from the series where I will guide you through the process of installing WordPress.
In this blog post we will deploy WordPress in Microsoft Azure.
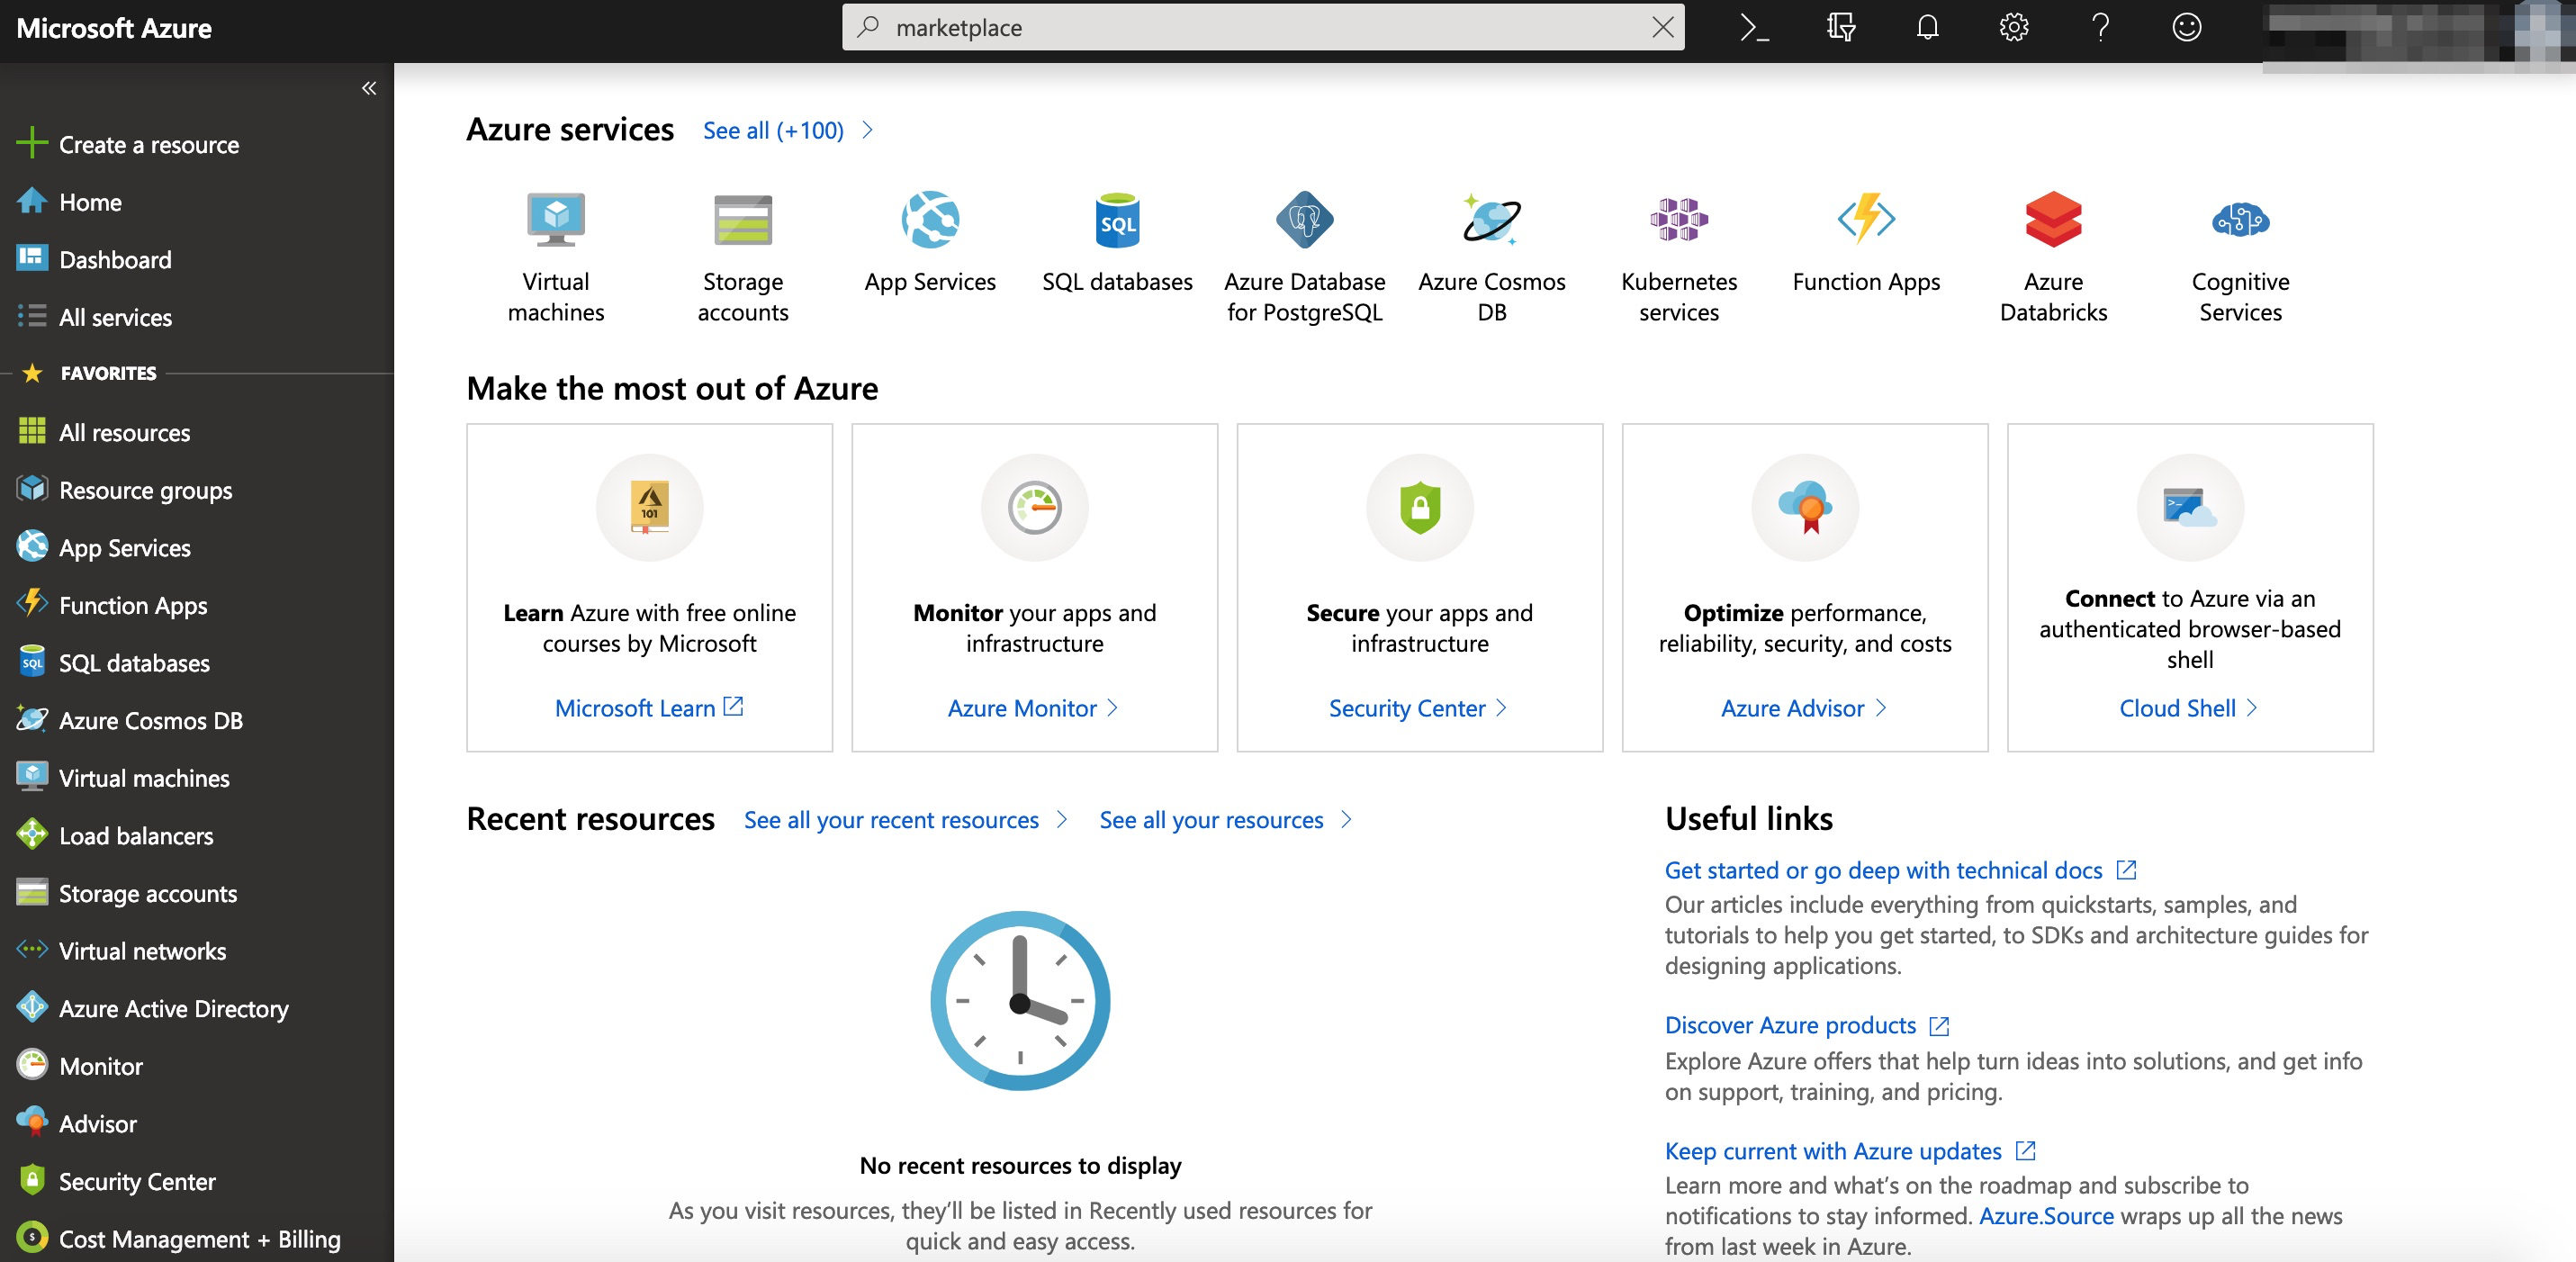
- First of all we need to login to Microsoft Azure portal.
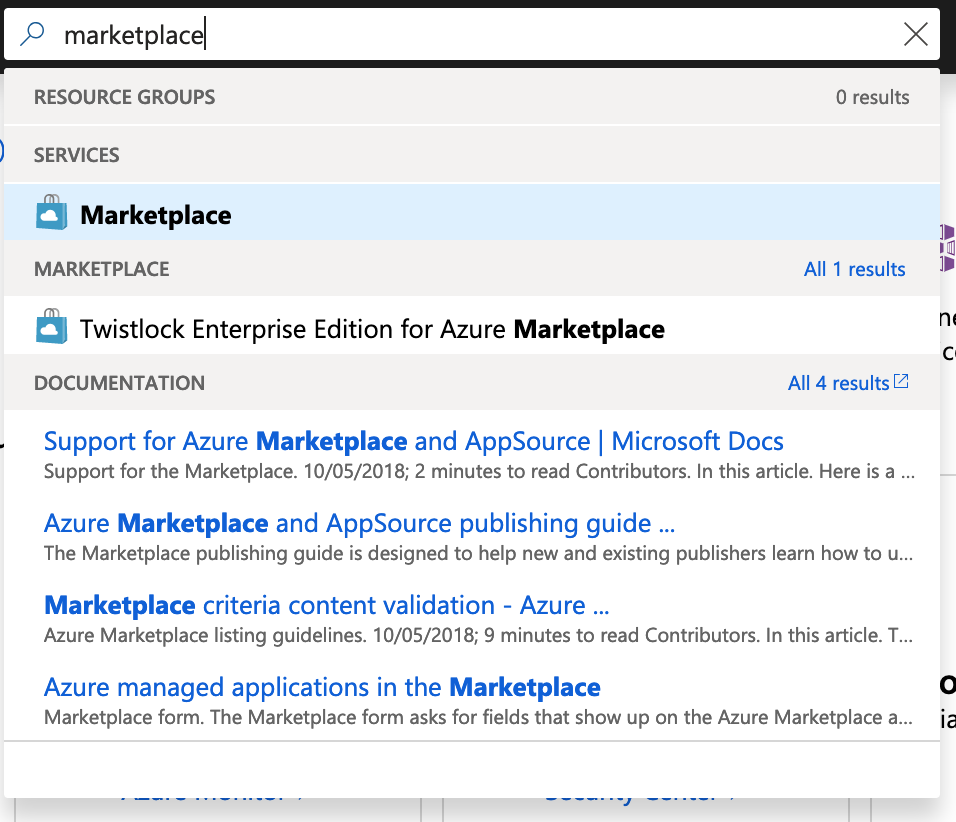
- Once logged in, simply type marketplace in search field.
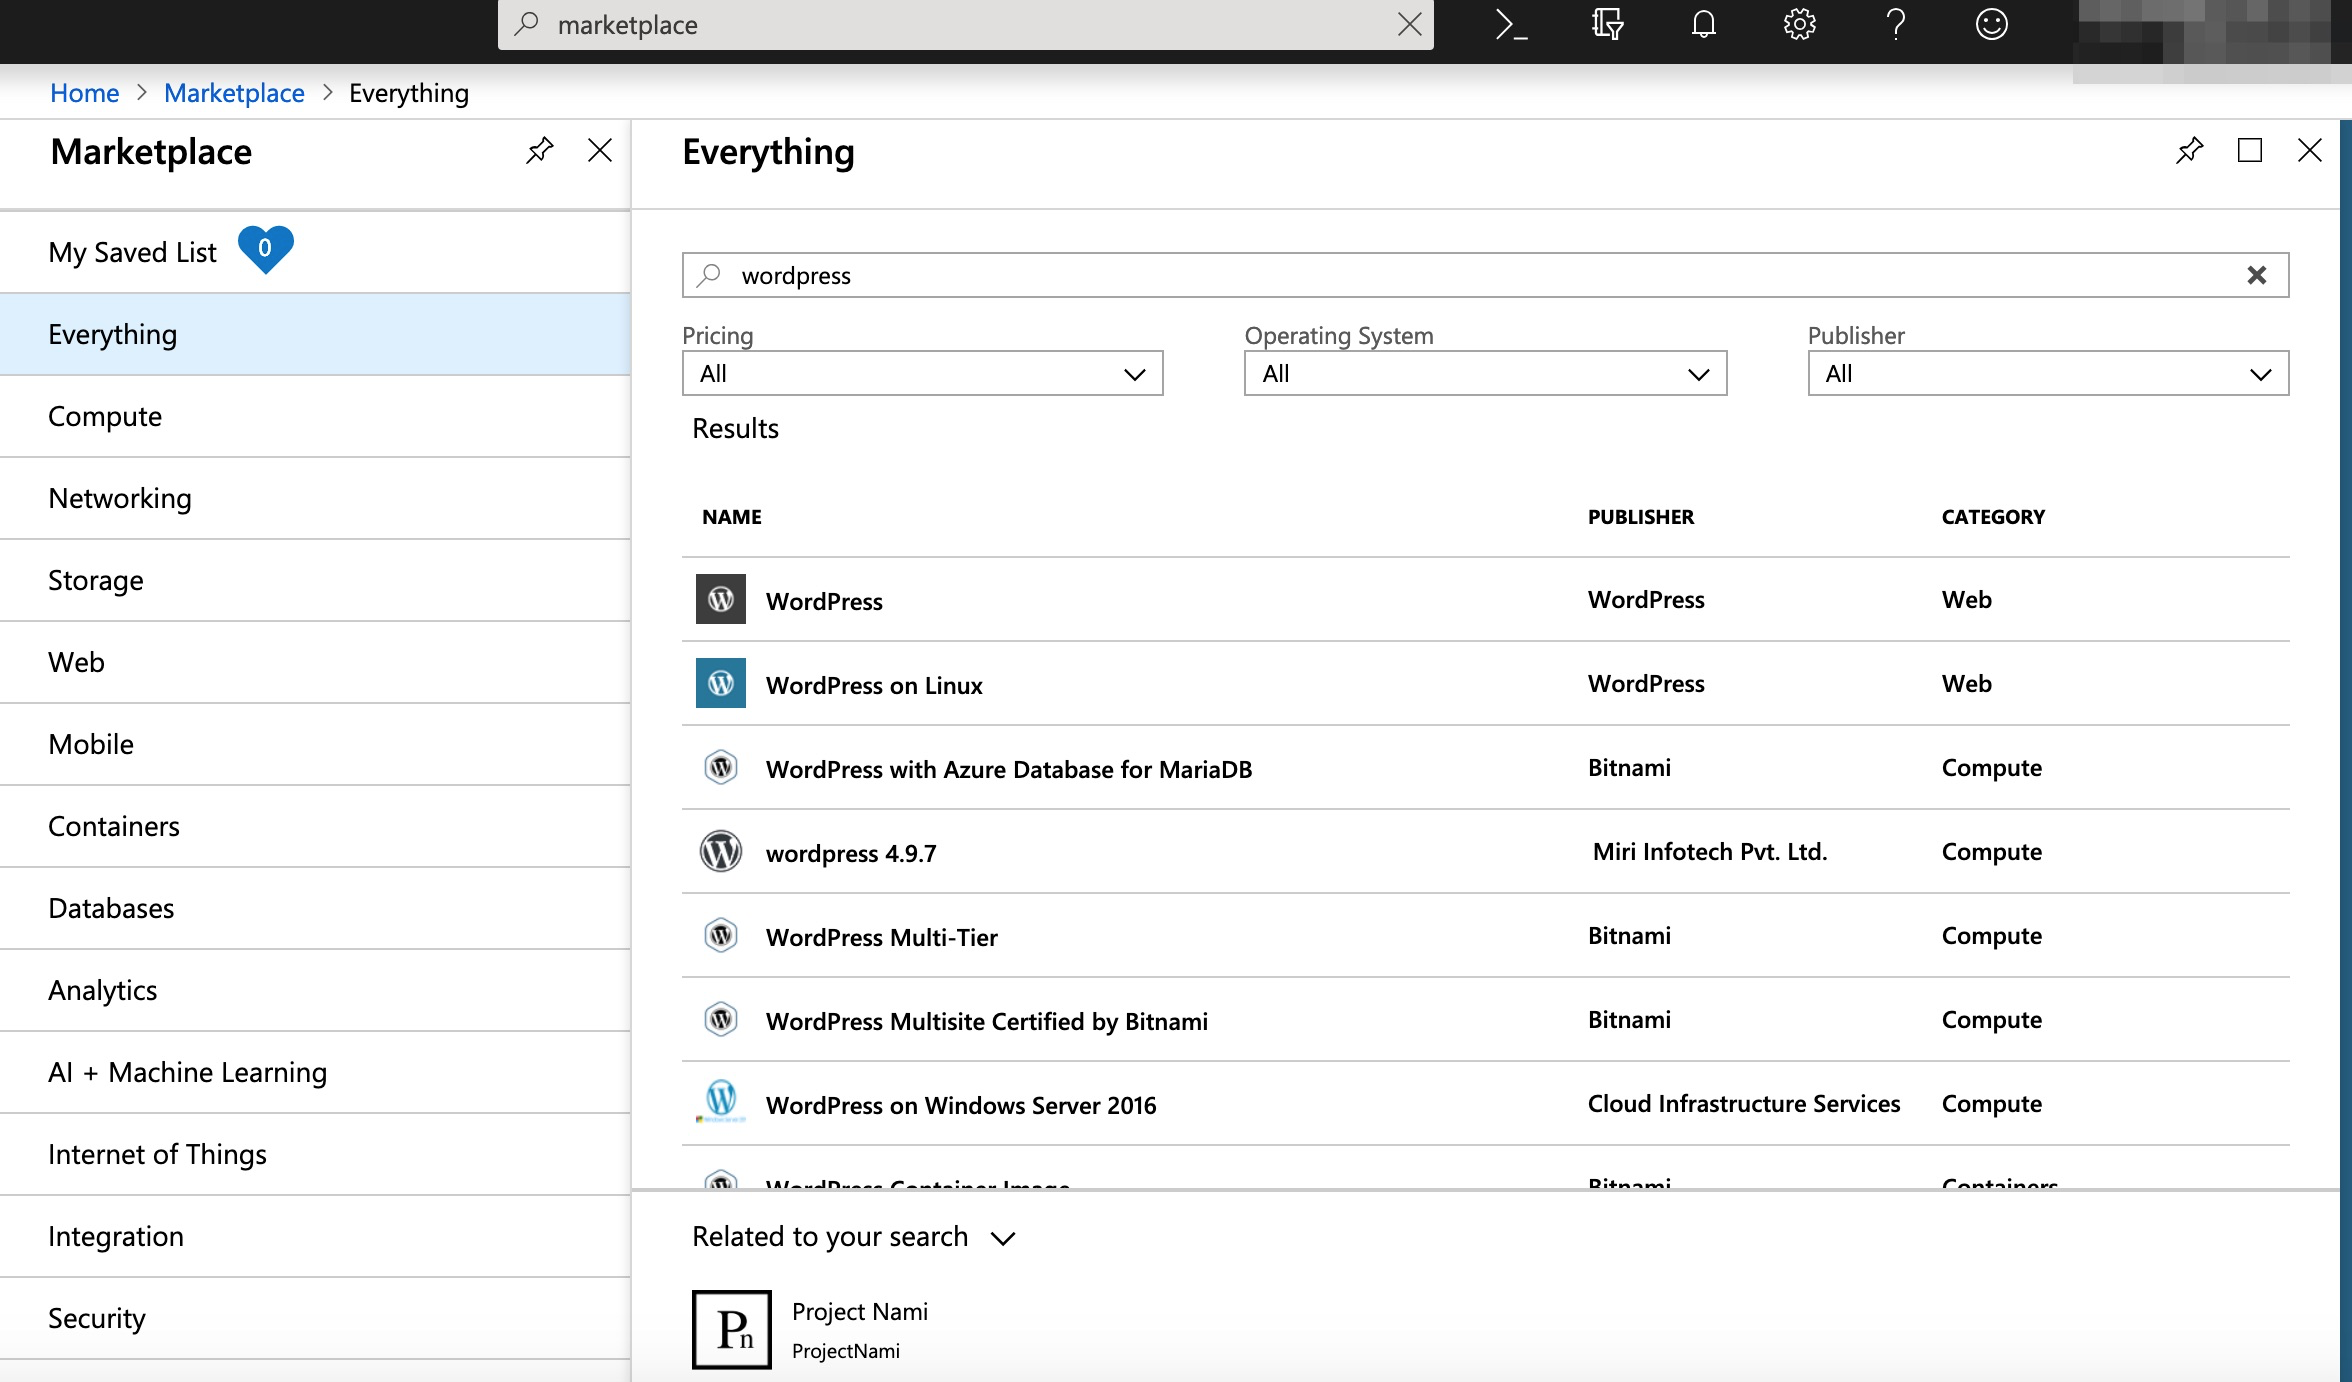
- Once we are in the marketplace type wordpress.
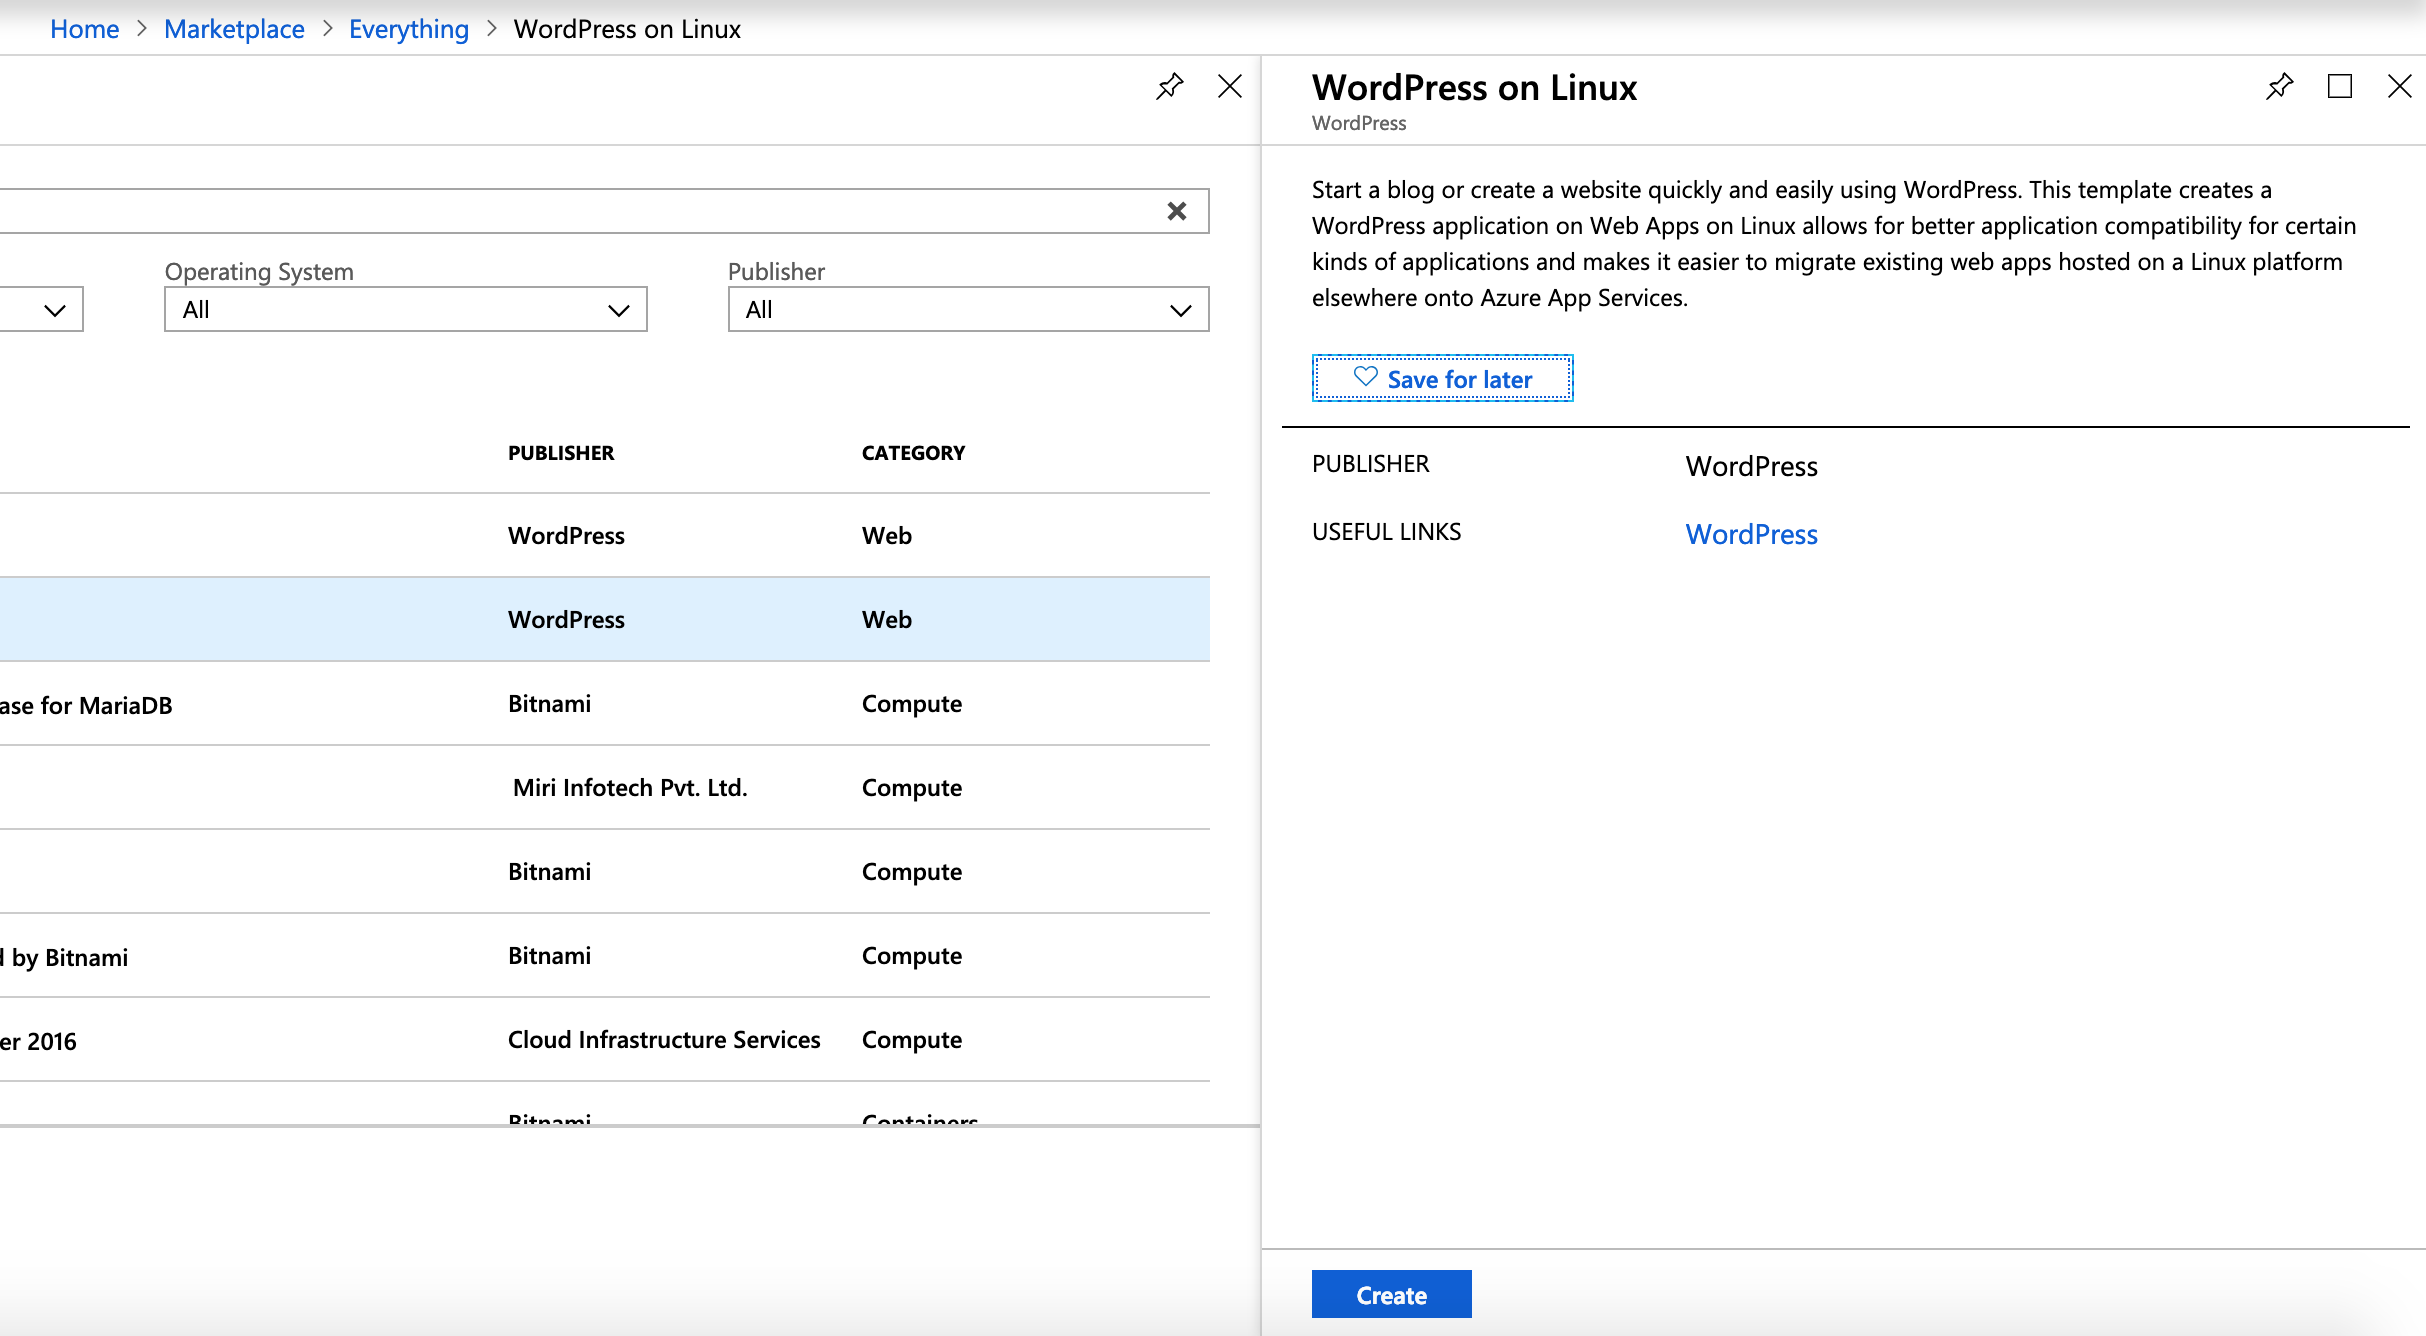
 4. I will select WordPress on Linux. Click on it and click on the bottm Create.
 5. As usuall we need to provide few extra settings. App name, subscription type, Resource Group and Database details.
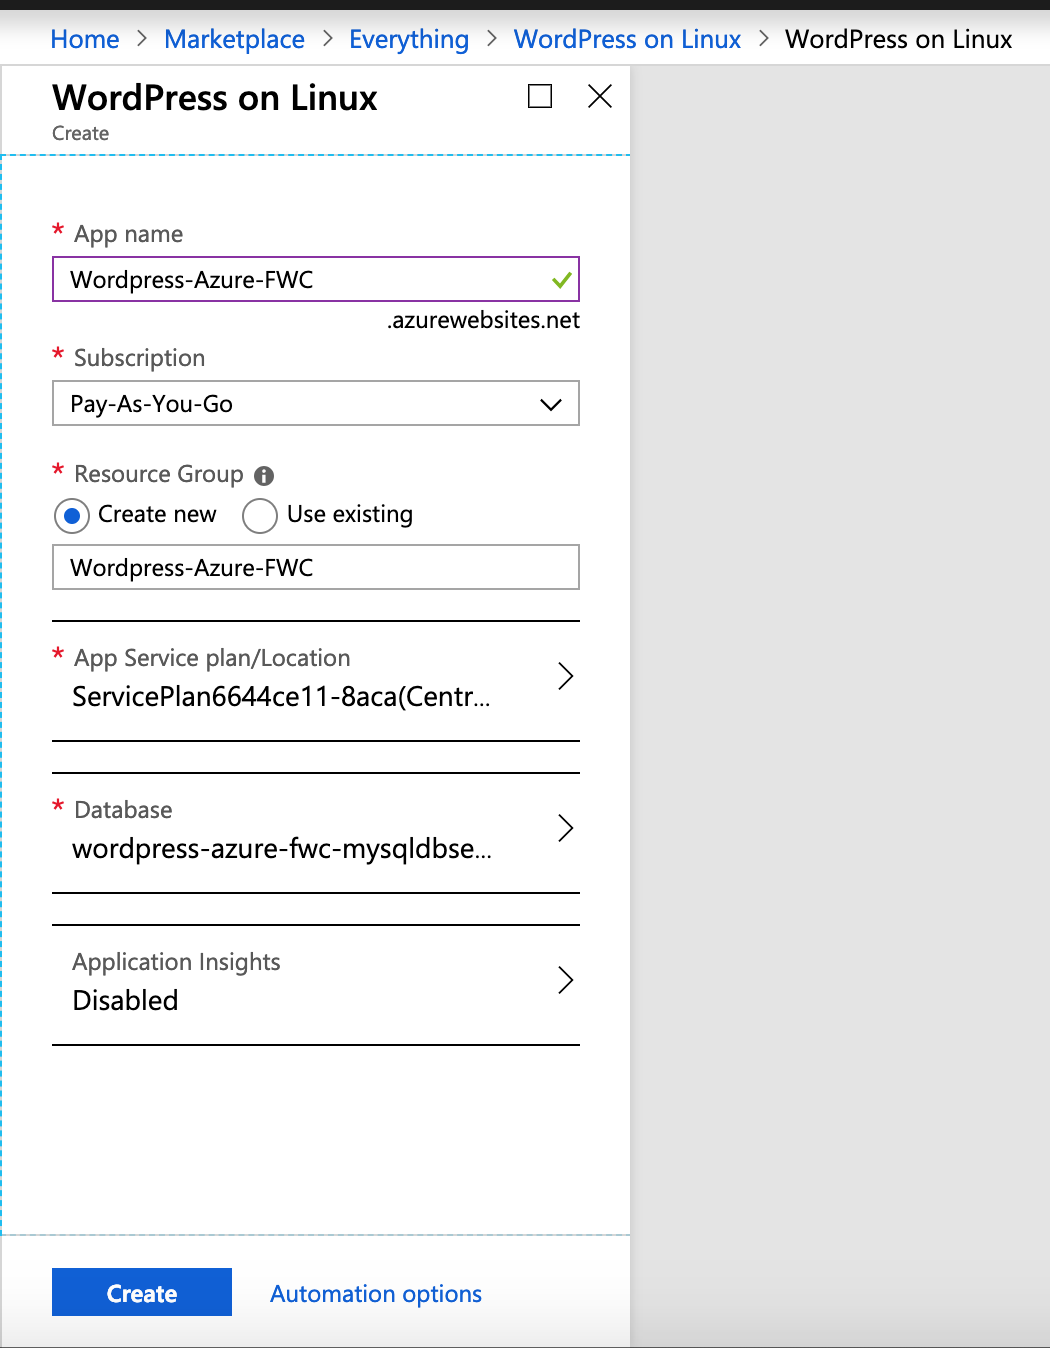 6. Click on the Database to provide database name, password.
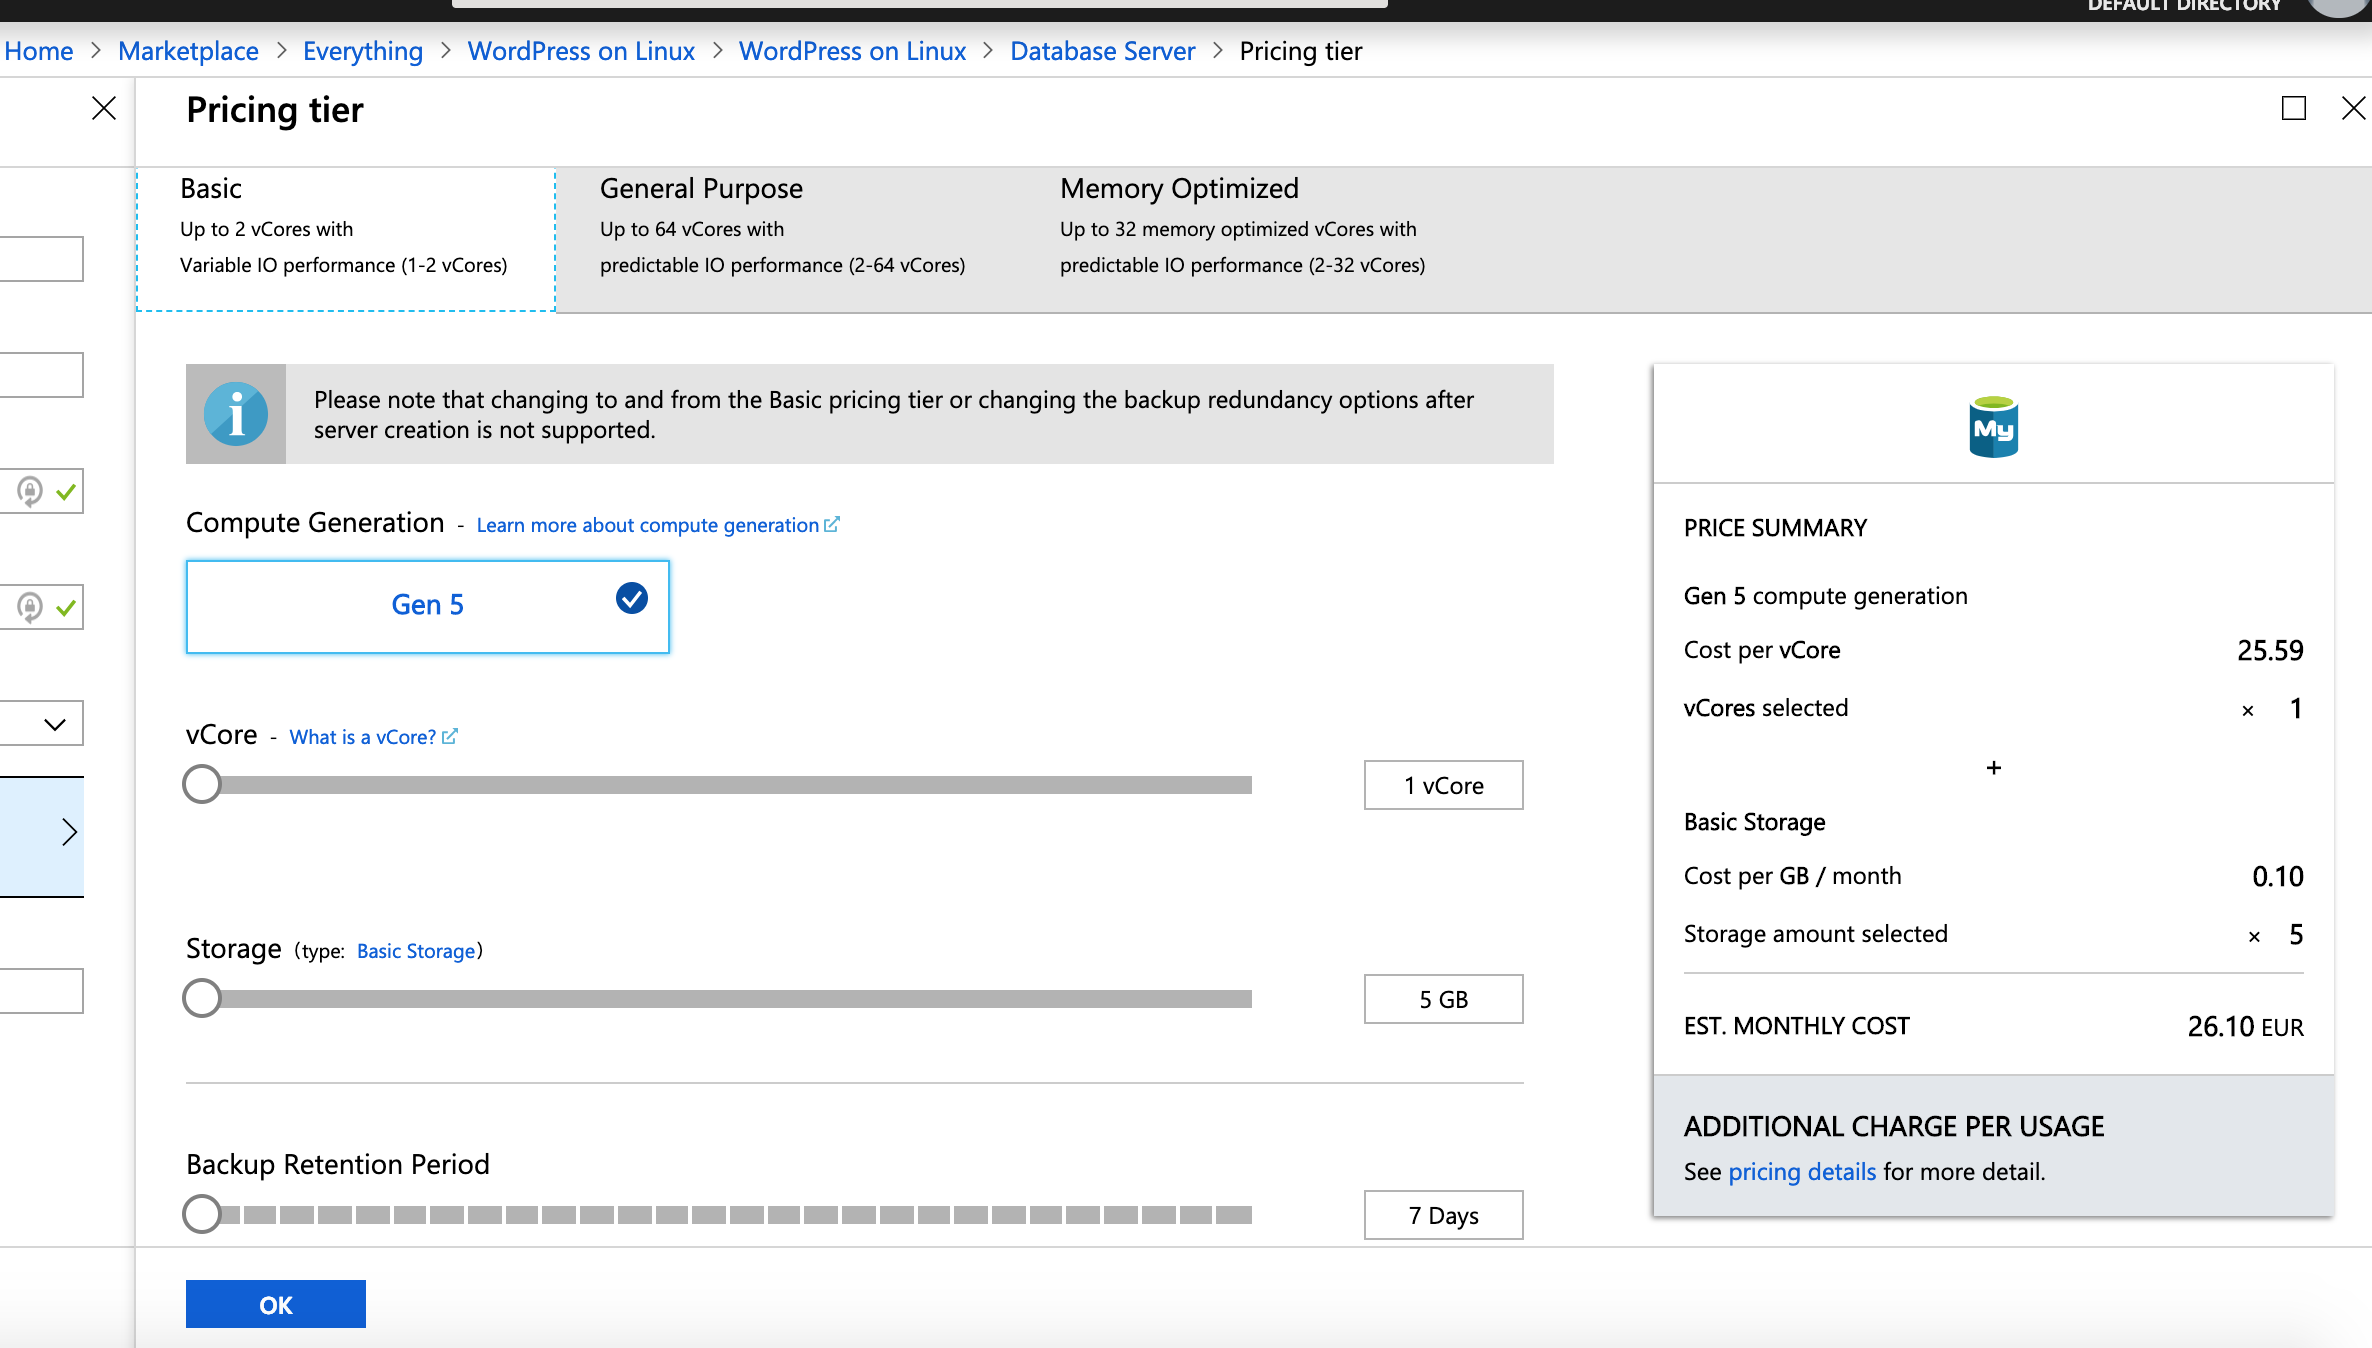
 7. I suggest to change MySQL server specification to lower the costs for such a trivial deployment as WordPress.
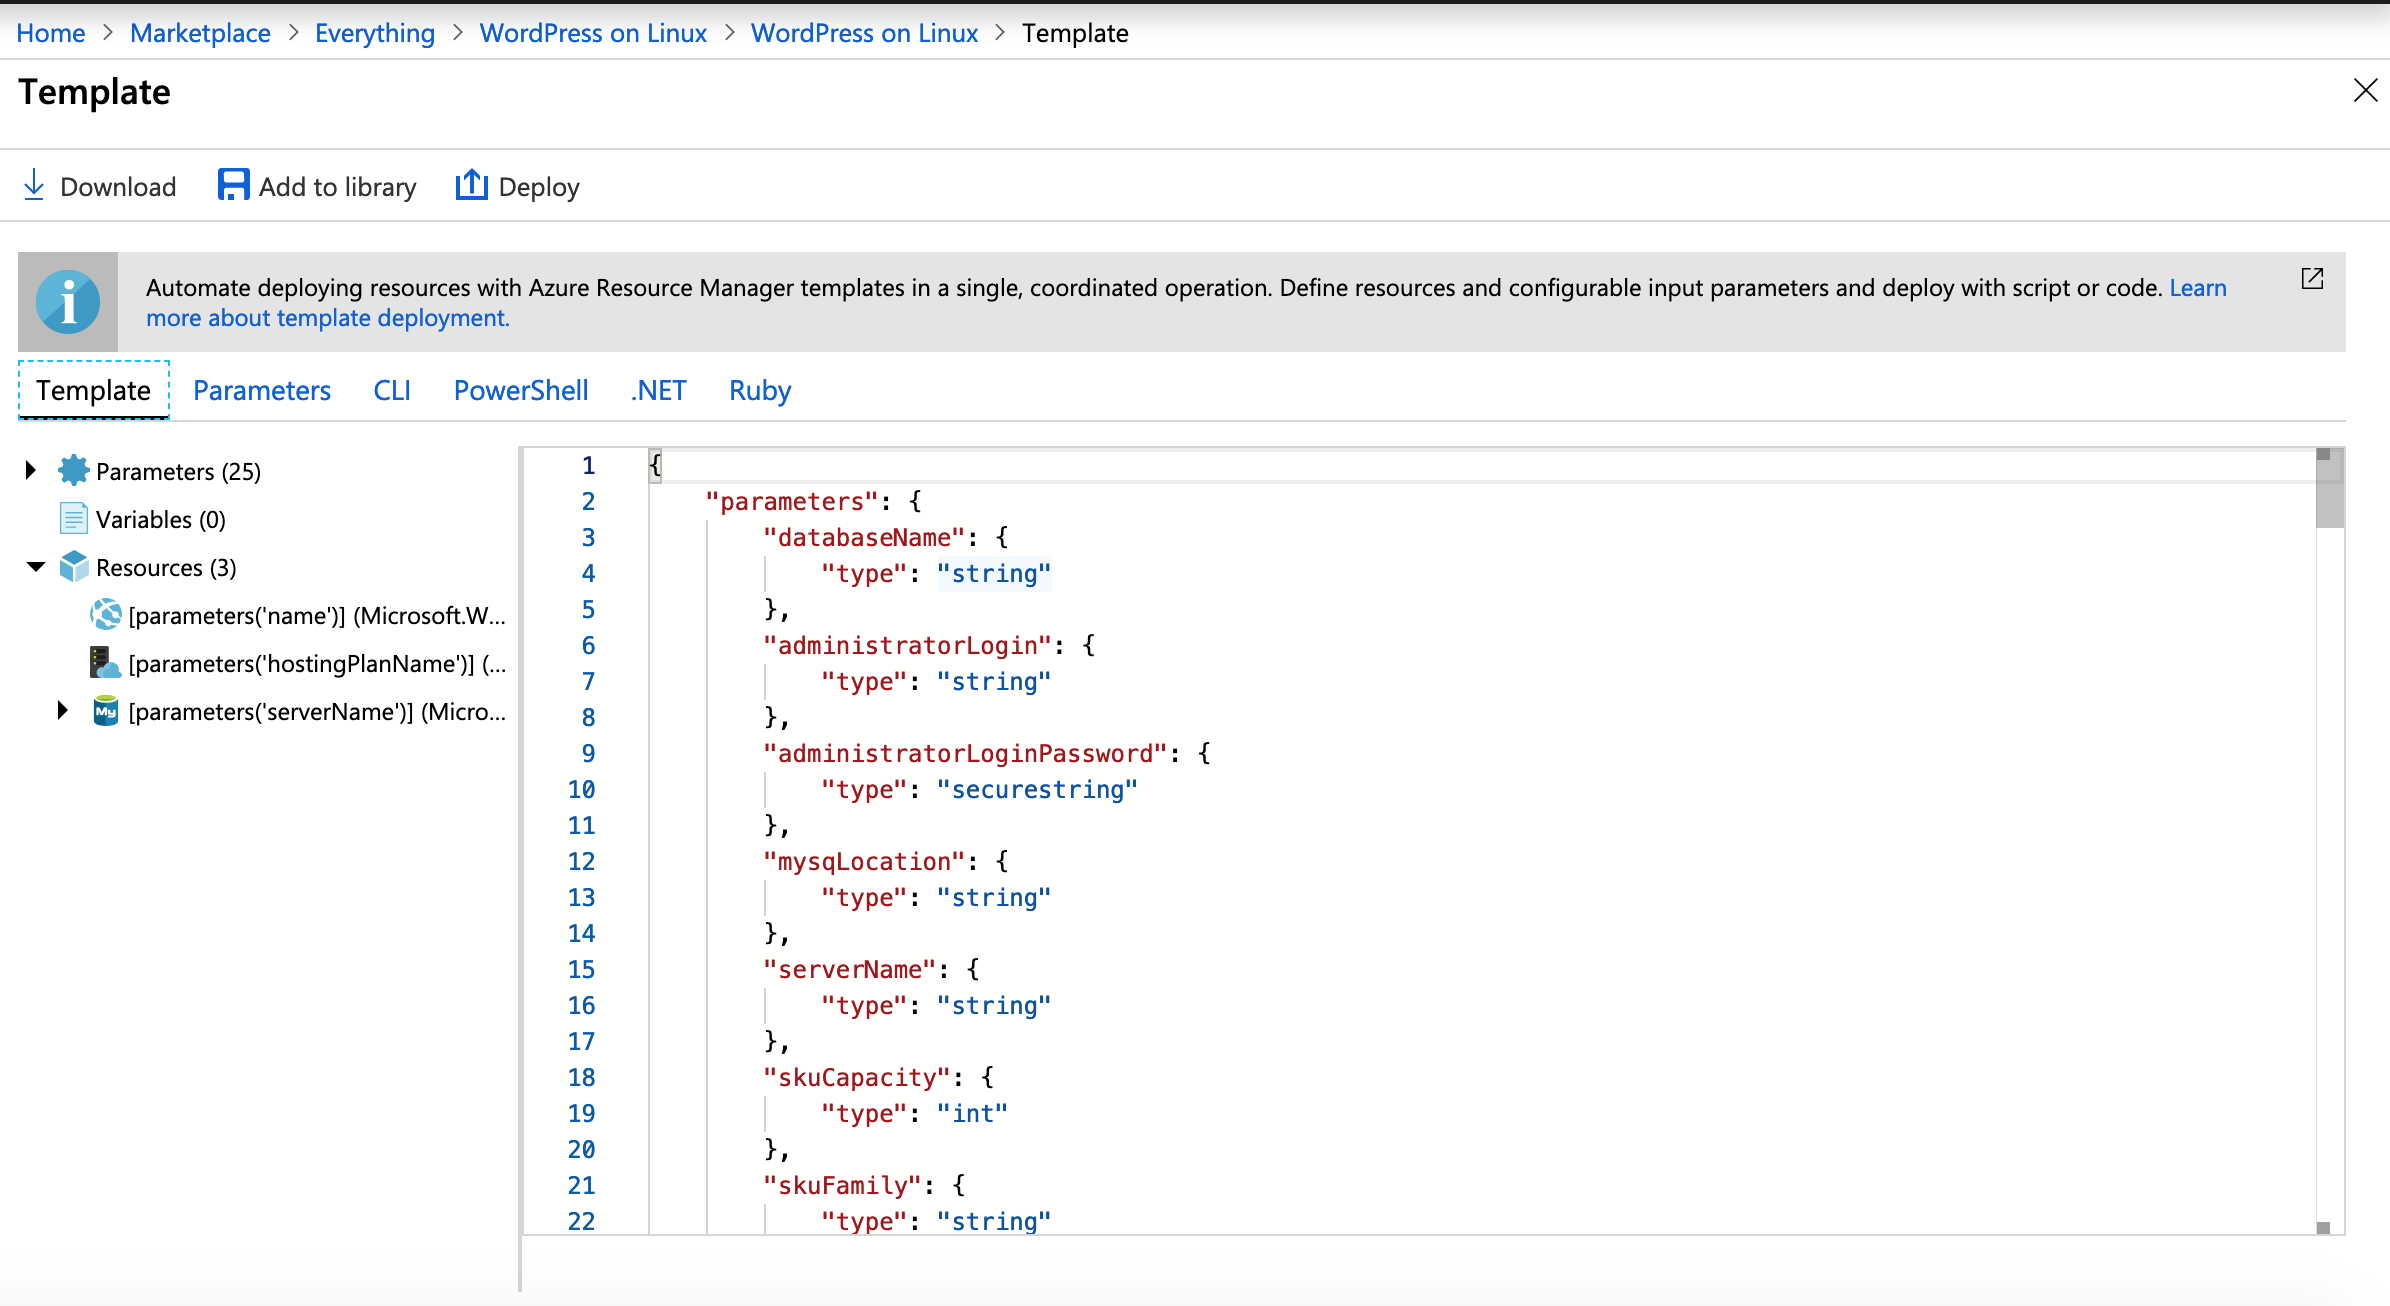
 8. If you click on Automation options you can save the deployment as a Template and reuse it. What is really cool is the possibility to get deployment template in many different languages like:
- PowerShell
- .NET
- Ruby
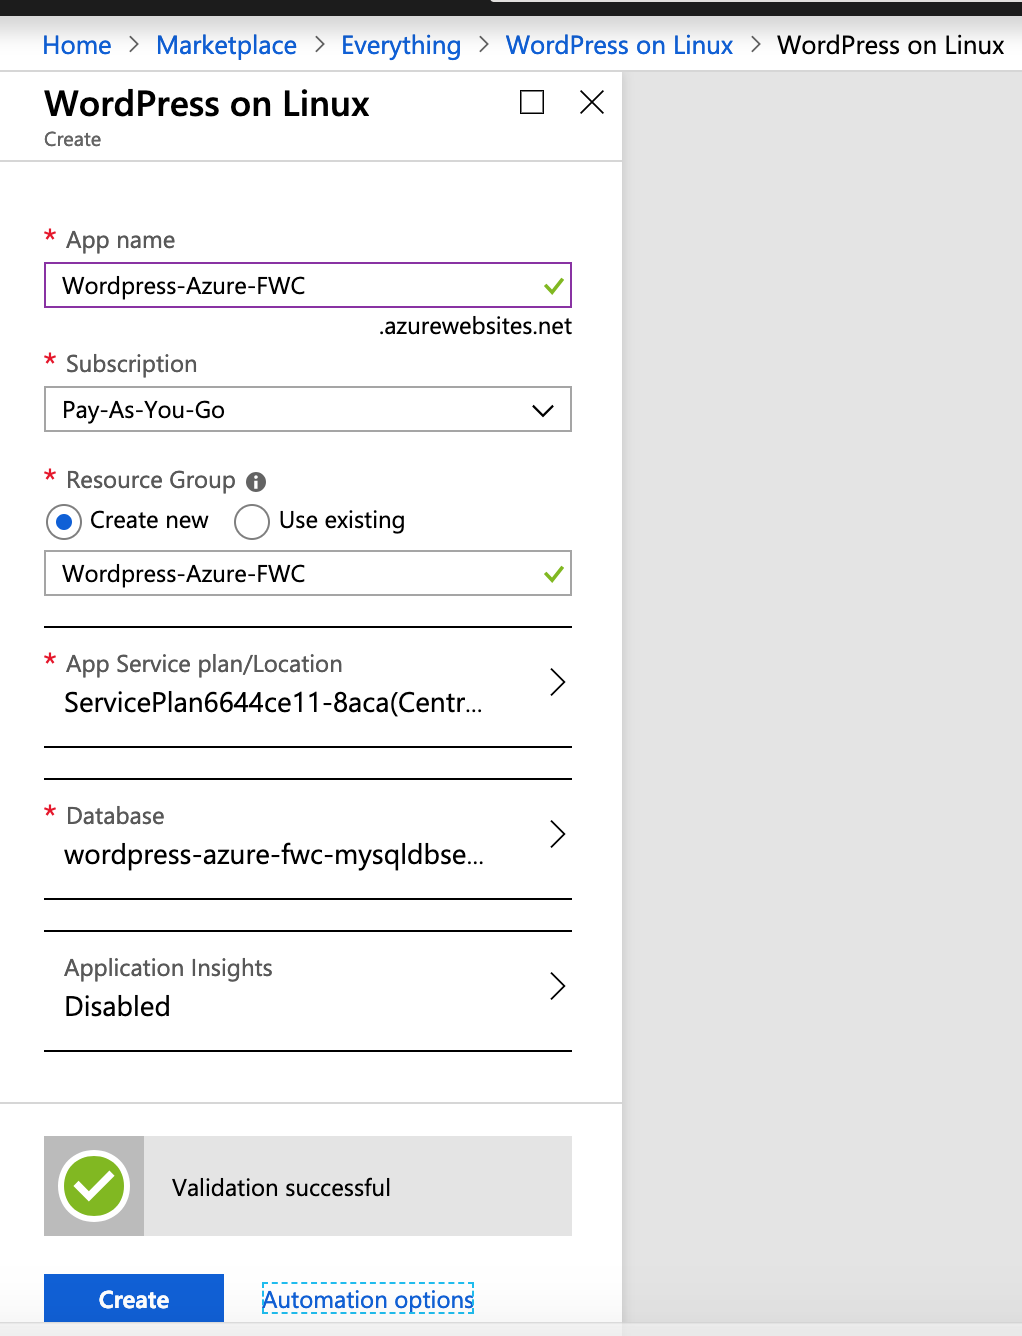
- Our deployment will be validated and if everything is configured correctly hit Create button.
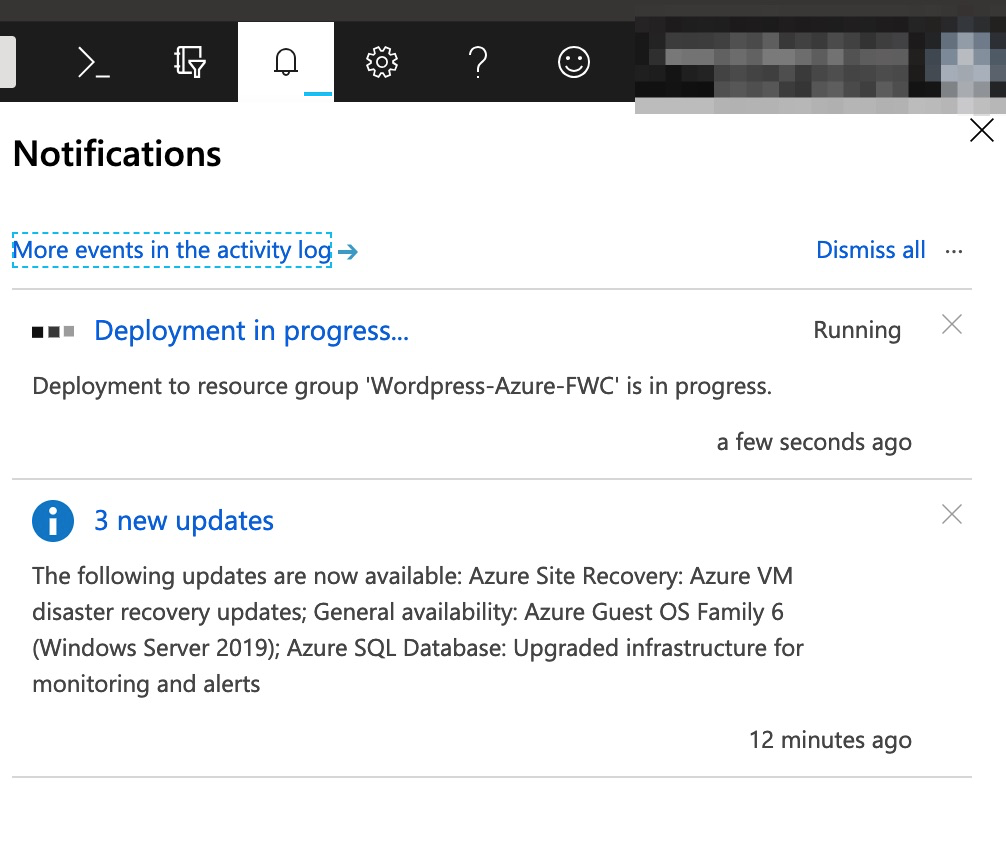
- Deployment will be started. Click on the top right menu to view the progress.
- After few minutes WordPress deplyoment is finished.
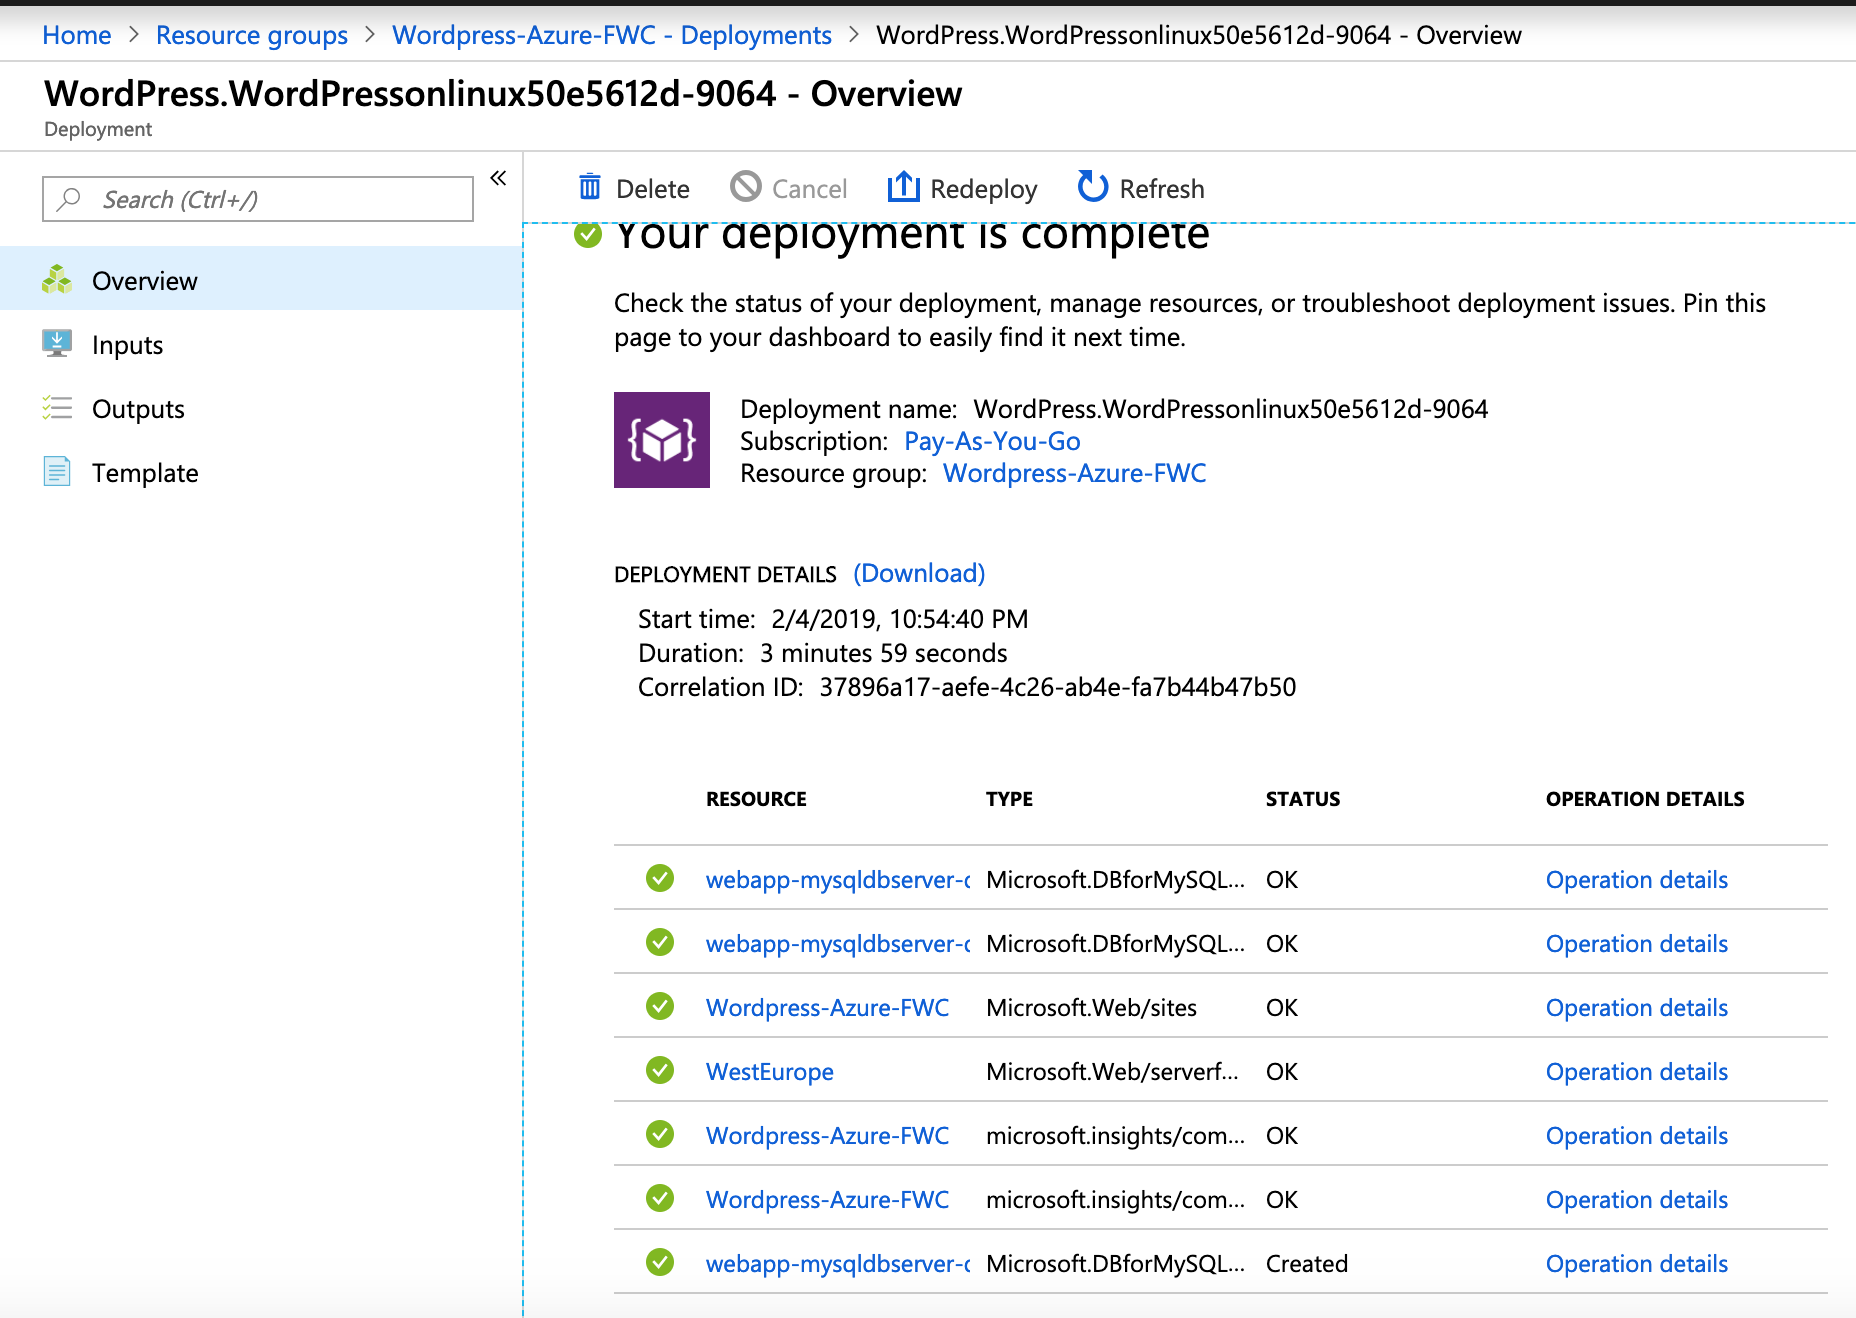
- Once you click on the resource group you will be able to view the WordPress deployment details.
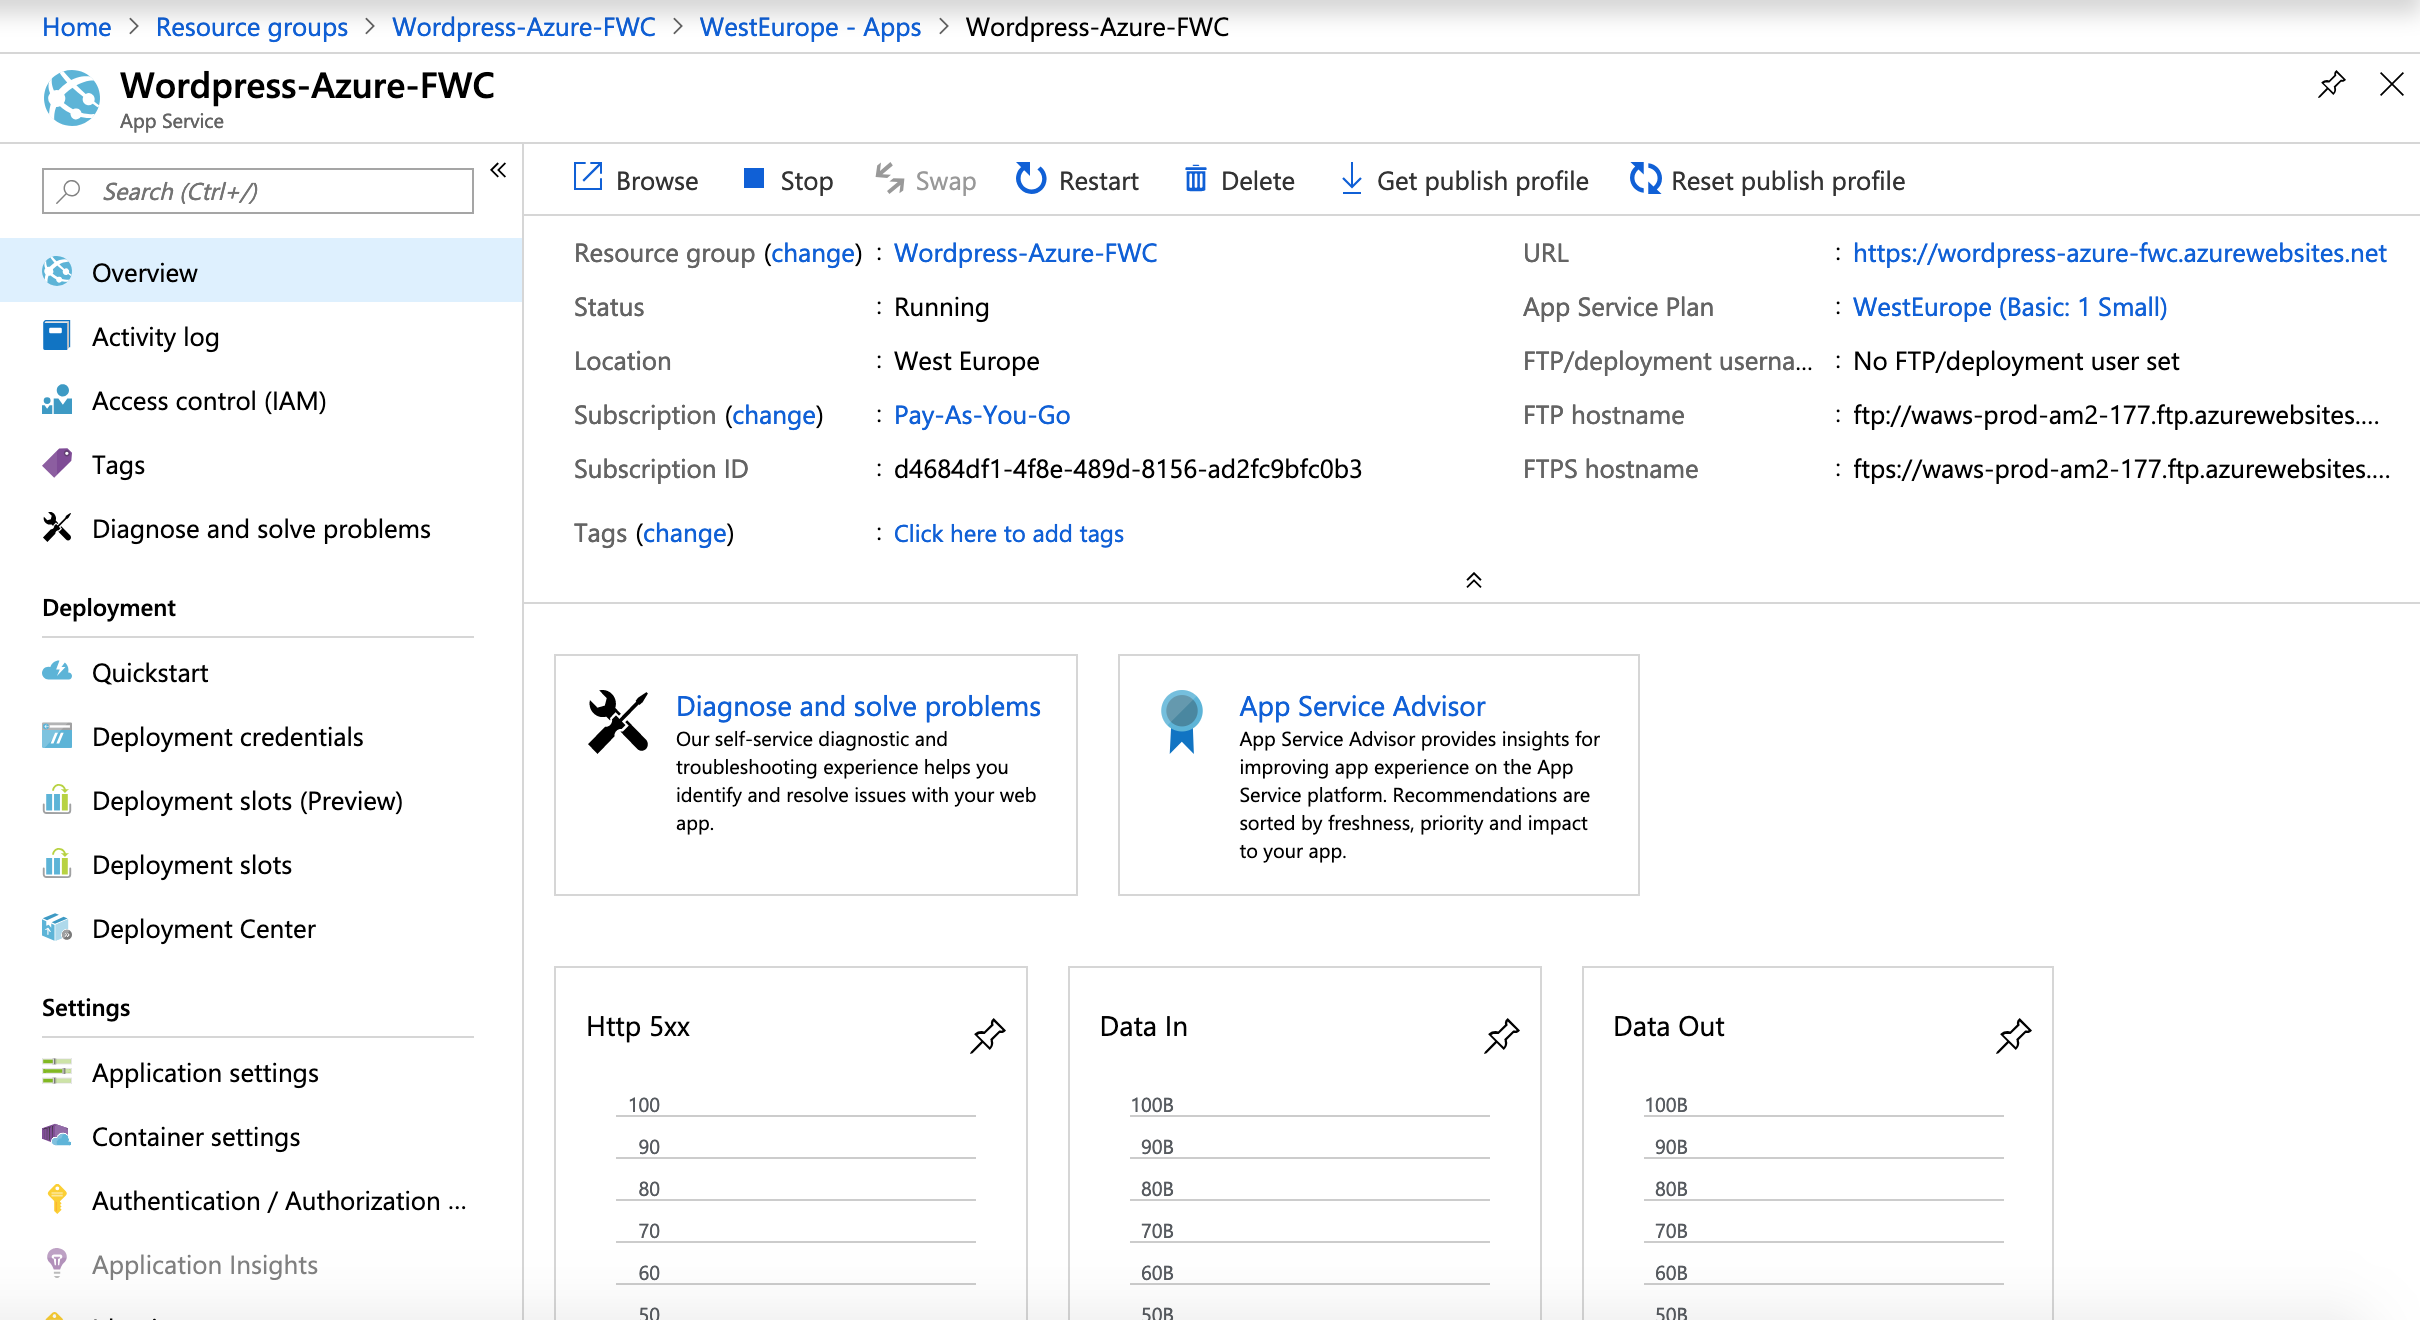
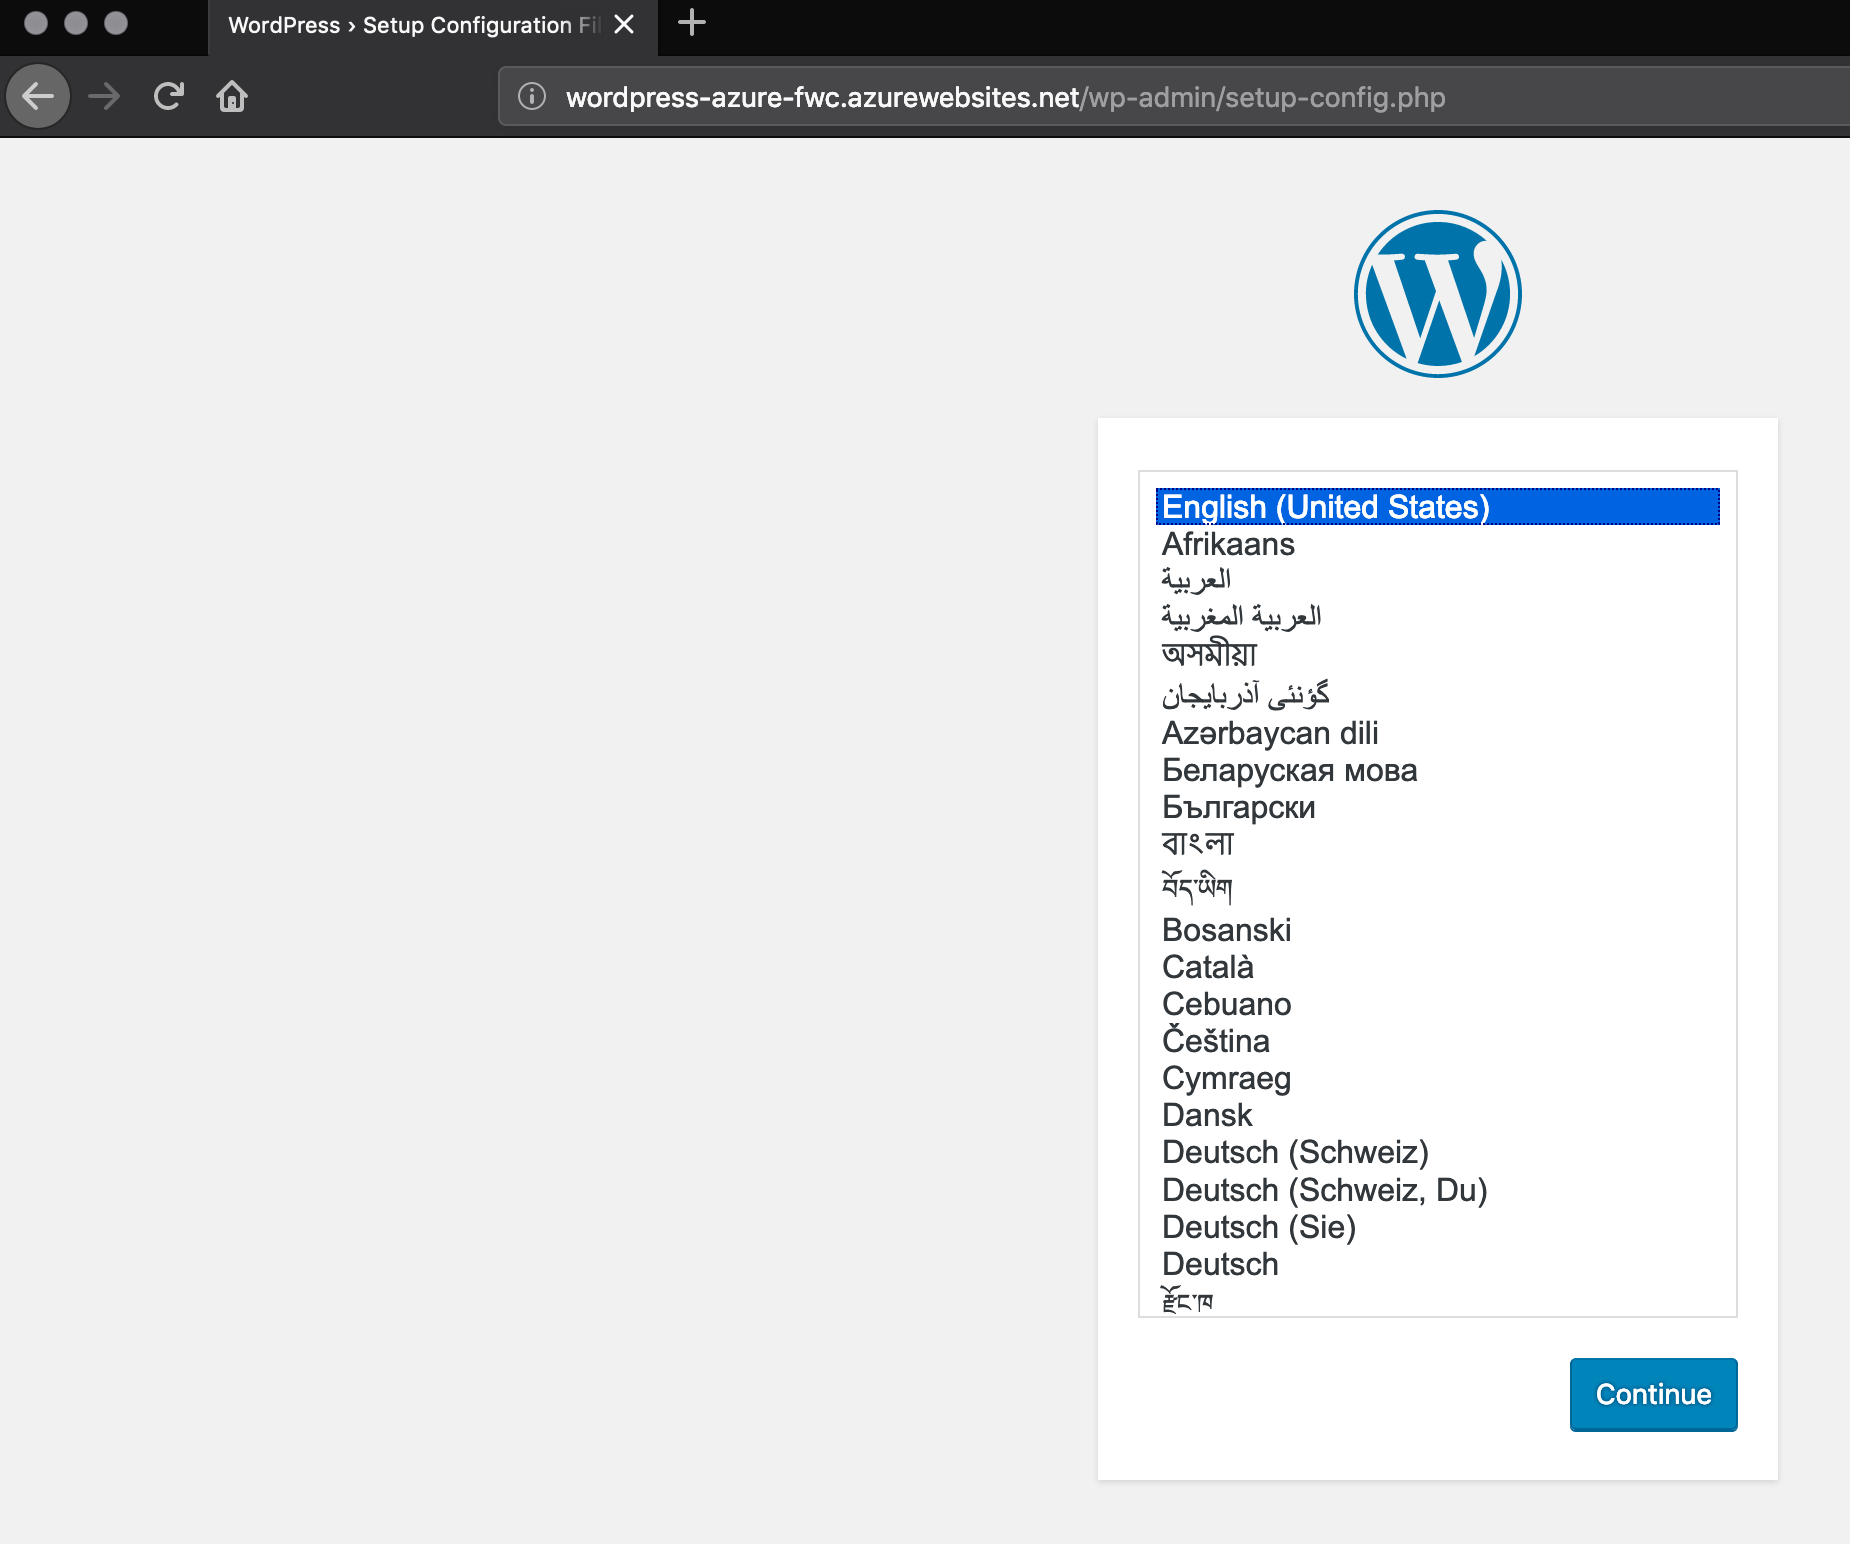
- WordPress is ready to be configure.
Summary
WordPress deployment in Microsoft Azure is fairly simple. You must remember to create a subscription plan in the same location as you are deploying database.